3 Must-Have Makeup Products To Contour And Sculpt Cheeks on Medium Brown Skin Tone
I’m going to keep this post short and get to the point: these 3 products (I have some alternatives listed too) will give your cheeks life.
Step 1: Add definition and contour with a bronzer that has a neutral tone
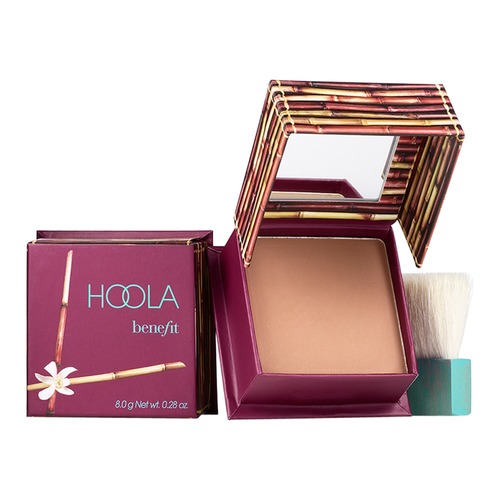
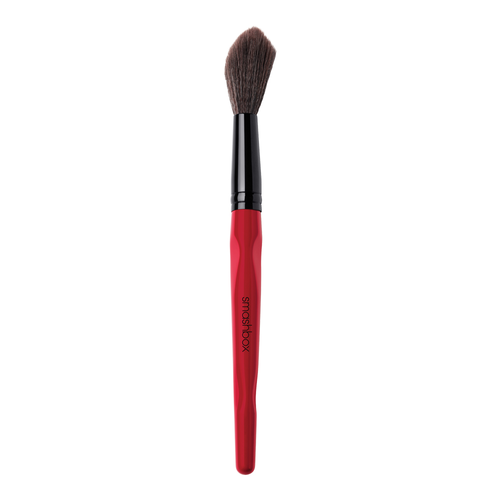
My favourite bronzers with a neutral tone are Hoola Bronzer by Benefit Cosmetics, Fenty Beauty Sun Stalk’r Bronzer in Caramel Cutie, and L’Oreal Paris Back to Bronze Matte Bronzing Powder. I like to use a soft brush like the Smashbox Buildable Cheek Brush because it applies the product in a diffused way. You don’t run the risk of overdoing it with bronzer or getting streaks and blotches.
When it comes to contouring the cheek, the key is to know where to start and where to stop. The starting point is where the top of your ear meets your cheekbone and if you touch your cheekbone you’ll feel it dip inwards into a hollow space — that is exactly where you want to start contouring from. And to find your stopping point — draw an imaginary line vertically from the middle of your eye when looking straight down your face and where that imaginary line meets your cheekbone is where to stop.
The way I like to contour is to start at the back of my cheekbone right where it curves inwards and then work my with the brush following the natural shape of my cheekbone and create a guideline from start to finish point. Then I use a very light hand and sweep the brush in rounded motions back and forth a few times. I’m careful to sweep upwards onto my cheek from my guideline so that my face looks lifted and not droopy from applying the bronzer too low.

Step 2: Apply blush on the apples of your cheeks and blend into the bronzer
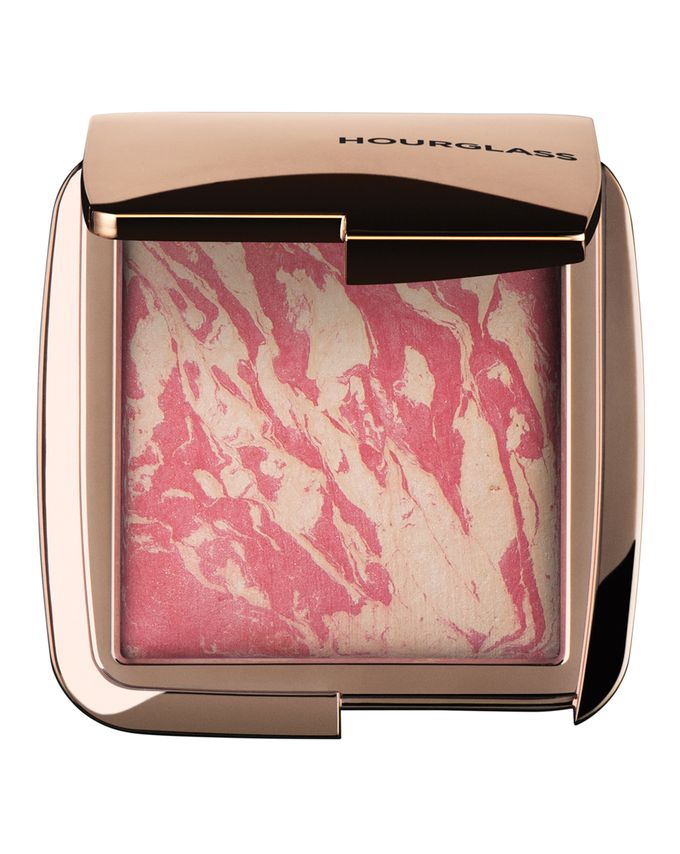
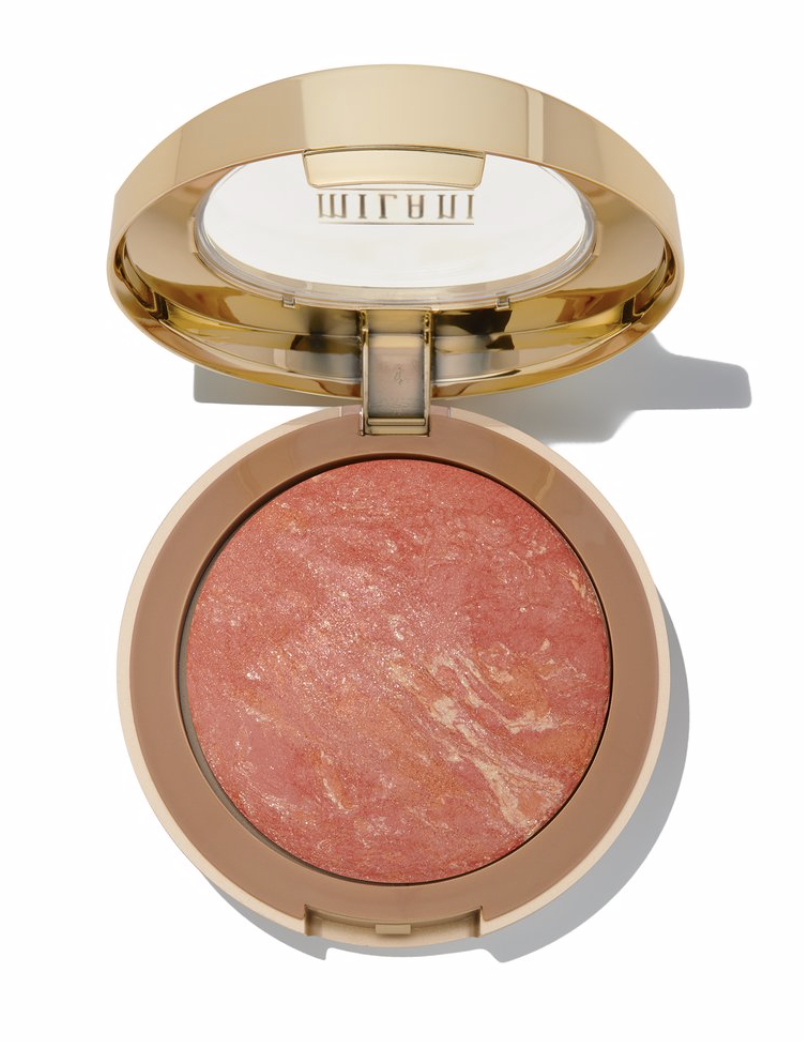
My favourite blush is the Hourglass Ambient Lighting Blush in Diffused Heat. An alternative to this one is the Milani Baked Blush in Corallina (or Dolce Pink) but in all honesty use any blush you like. The key takeaway here is the technique, not the colour.
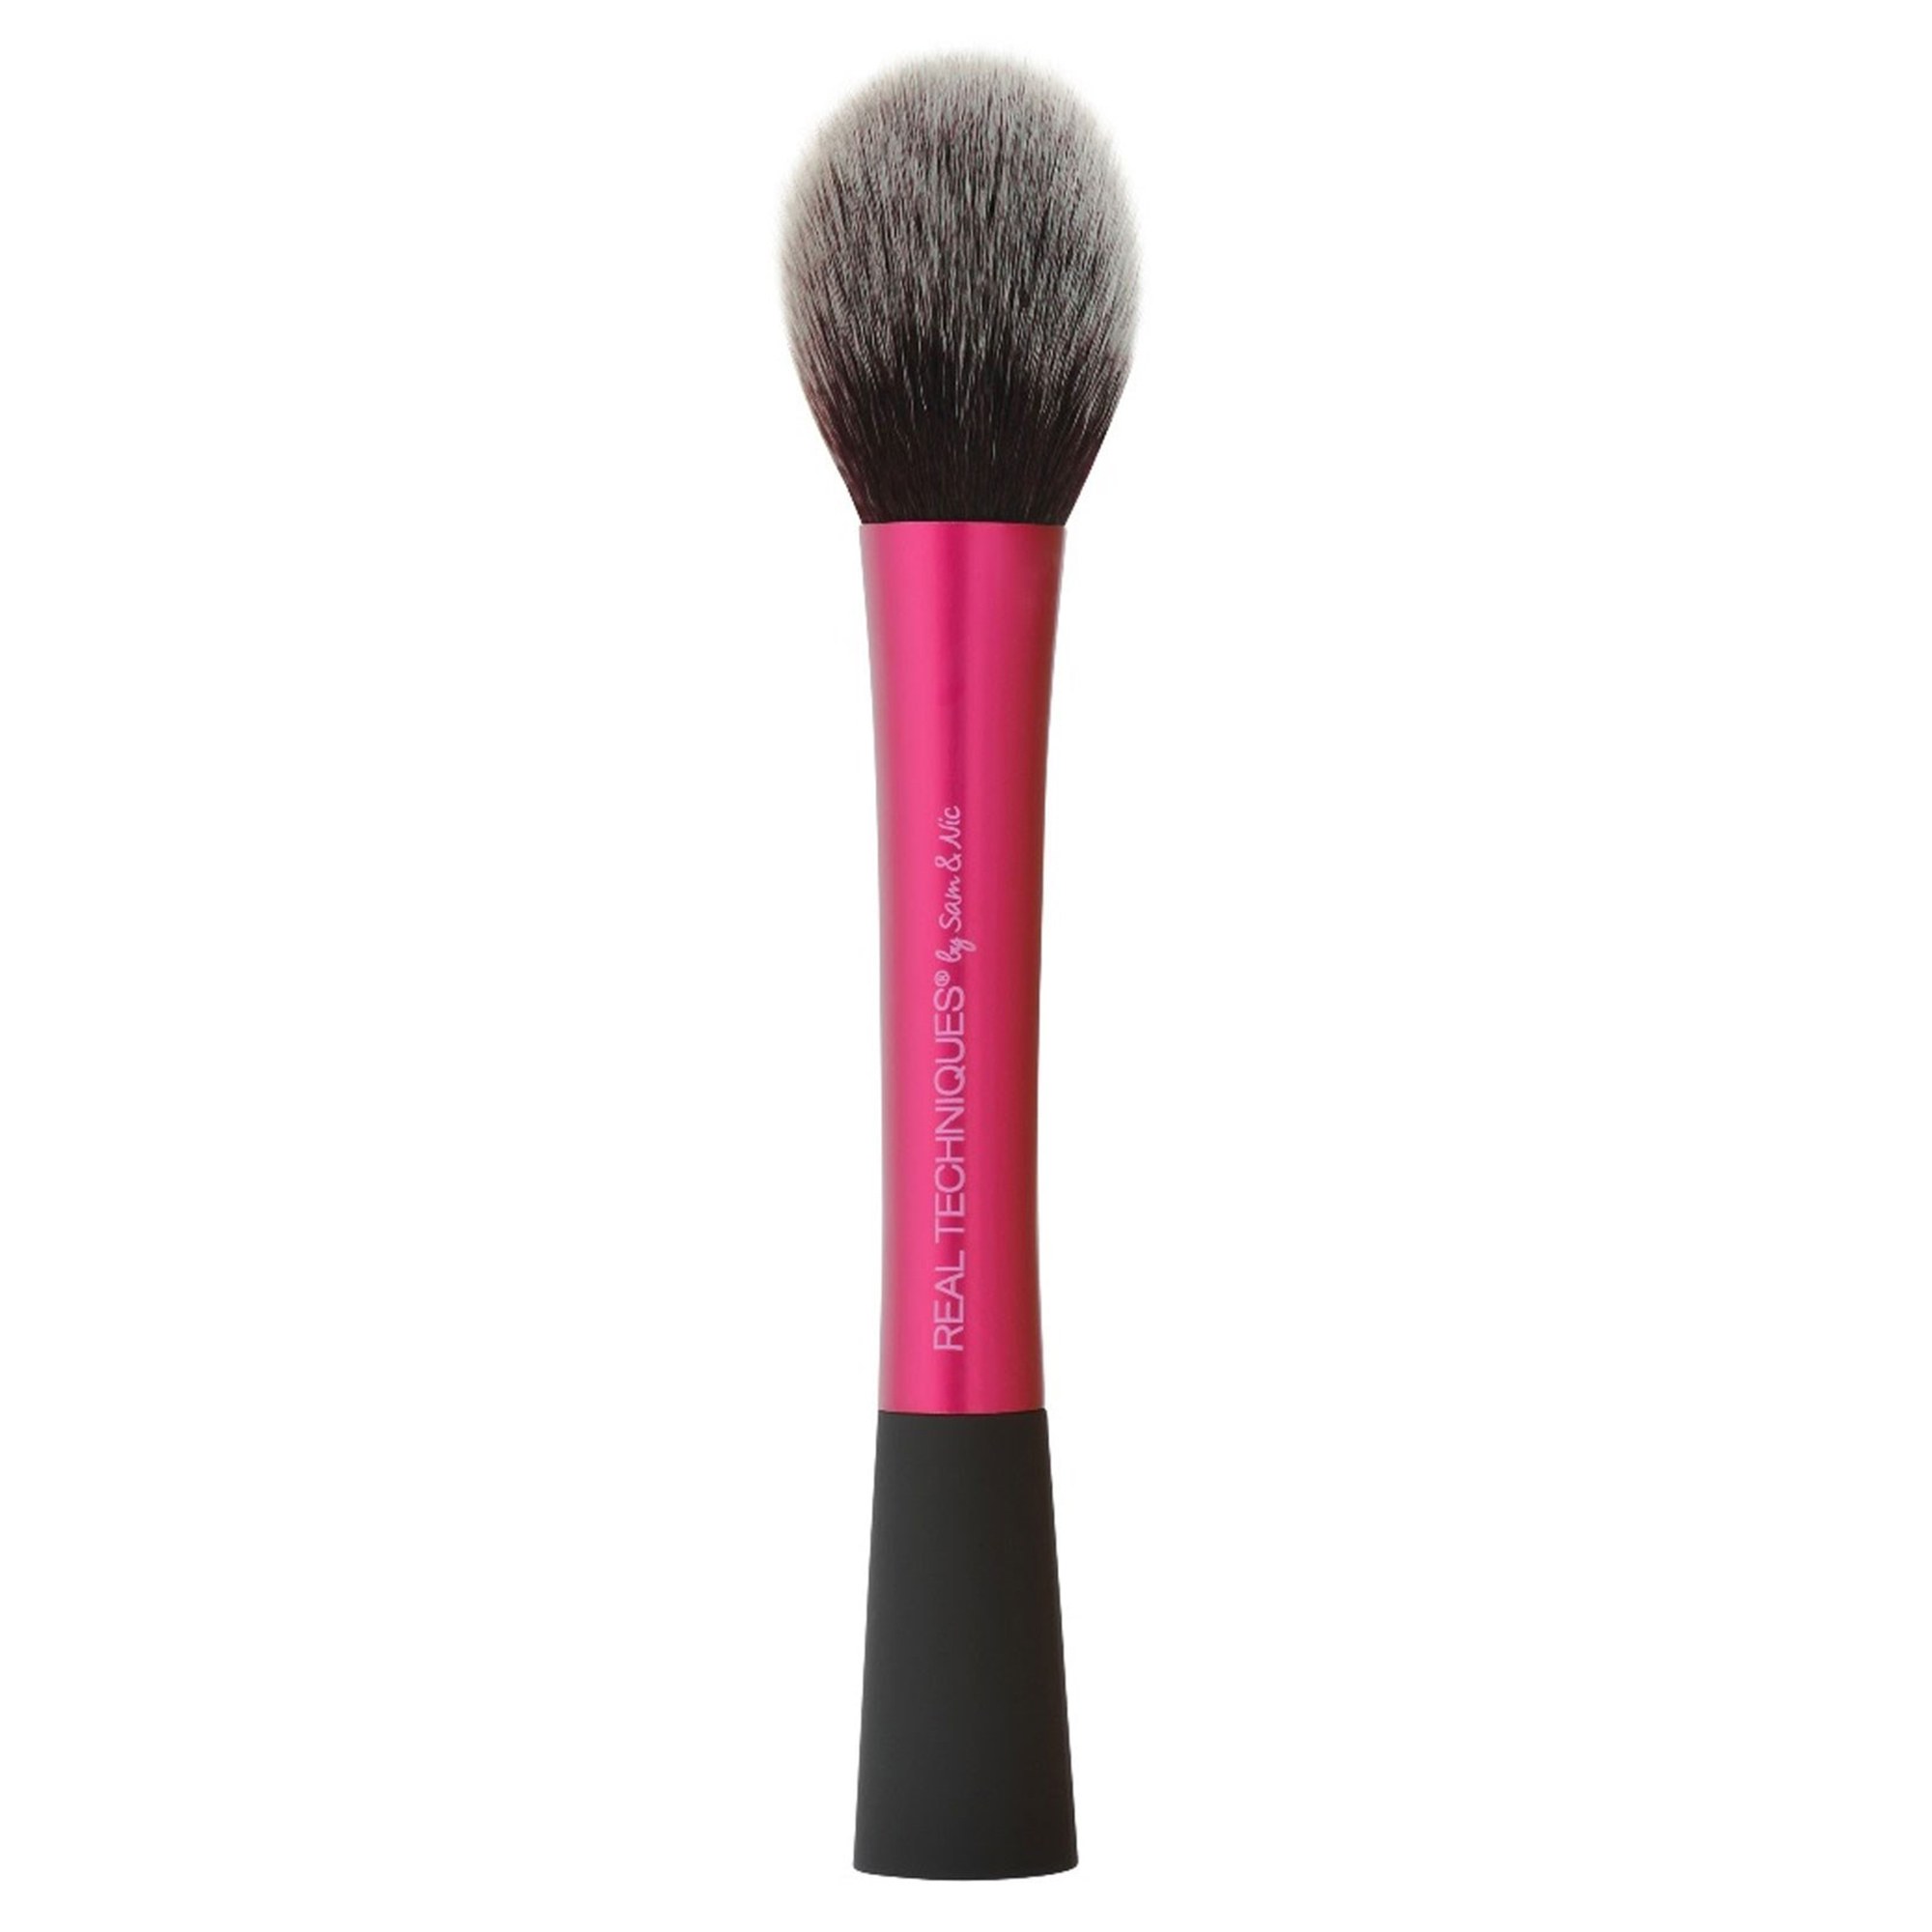
The way I like to apply blush is to smile and find the apples of my cheeks. Then using a large, soft fluffy blush brush like the Real Techniques Blush Brush, I will very lightly apply the blush on the apples of my cheeks and gently sweep backwards in larger rounded motions slightly above my bronzer contour towards the stopping point (remember: the imaginary line trick). This creates a very natural, flushed effect on the skin and creates a seamless blend between the blush and contour. So if you were to feel your cheekbone structure, the blush would be placed on your cheekbone above the inward curve.
Related:
Eyeshadow Palettes For Medium Skin Tones and Brown Eyes
My Favourite Nude Lipsticks For Brown Skin and Pigmented Lips
My Favourite Pink Lipsticks For Medium Brown Skin and Pigmented Lips
How To Create An Easy Smudgy Smokey Eye With Nude Lips for Medium Brown Skin Tone
Step 3: Dust highlighter on the highest points of your cheeks
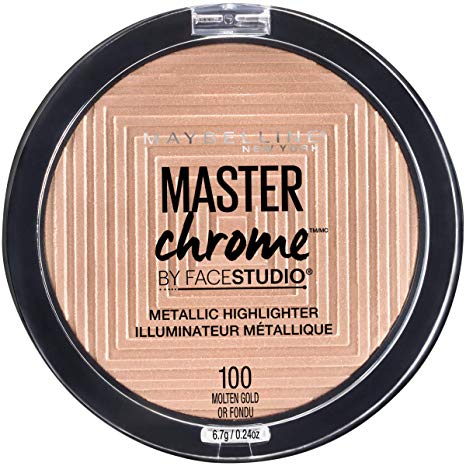
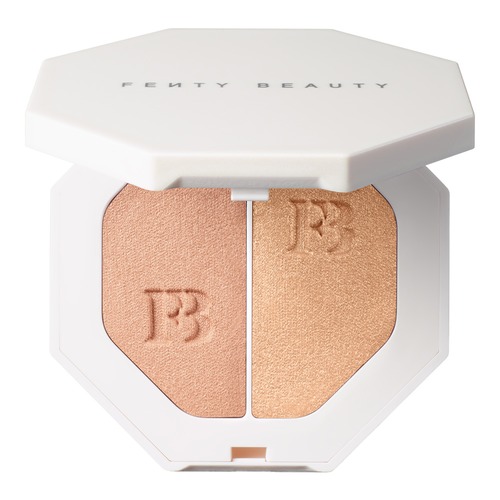
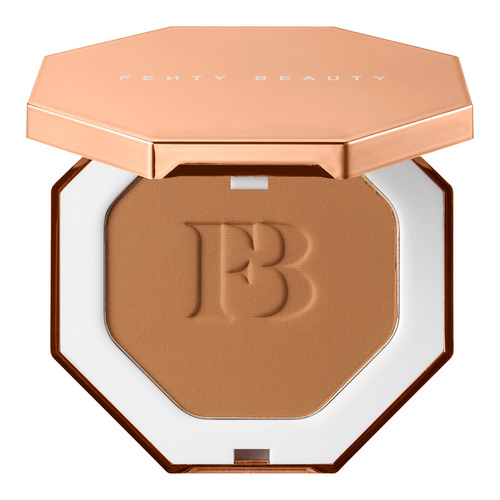
My favourite highlighters are the Maybelline Master Chrome Metallic Highlighter in Molten Gold and Fenty Beauty Killawat Freestyle Highlighter in Hu$tla Baby. They compliment medium to deep skin tones really well.
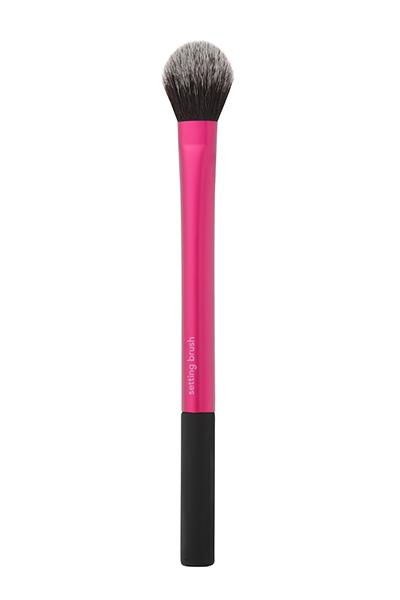
The rule with highlighter is less is more. Using a smaller dome-shaped fluffy setting brush like the one pictured below from Real Techniques, I will very, very lightly apply highlighter in small rounded motions on the highest points of my cheeks. The way to find the highest point is to remember the contour stopping point and follow that imaginary line up on your cheekbone to the highest point before it curves into the eye socket. And you just want to add a little bit of highlighter at this point and sweep slightly backwards to give your face a lifted effect. If you bring the highlighter too far down towards the apples of your cheeks, it looks unnatural and odd.
The trick to knowing if your highlighter is applied correctly is to do this: face a mirror straight on and you shouldn’t see any highlighter but as soon as your turn your face left, right, up or down, the highlighter will show as the natural light hits it at these different angles. That’s how you create dimension.