Beauty Review: Live Tinted Huestick

I’m always on the lookout for new beauty and skincare products to try out. Unfortunately, living in Bangkok makes it a bit difficult to get my hands on a lot of the new releases because most brands and companies don’t ship directly to Thailand. That being said, I kindly ask my friends who live in the US, Australia or UK to collect my orders and pass them on to me whenever we meet.

I’ve had my eye on Live Tinted, a beauty brand launched by beauty influencer Deepica Mutyala, because it claims to drive inclusivity for women and men of every shade with its products. As a woman of colour, it’s not easy finding products for skin concerns such as hyperpigmentation, dark spots, dark eye circles etc. I’ve been following Deepica for a while and was pretty excited when she announced the launch of Live Tinted’s first product — The Huestick.

Shades: Origin (Red), Rise (Terracotta Orange), Perk (Nude Pink)

Shades R-L: Origin (Red), Rise (Terracotta Orange), Perk (Pink). Photo credit: www.instagram.com/livetinted

According to the Live Tinted website, the Huestick is “an eye, lip, and cheek multistick that also balances out dark circles, dark spots, and hyperpigmentation”. The Huestick is available in three universal colours: Origin (Red), Rise (Terracotta Orange), and Perk (Pink). Each individual Huestick retails for $24 and the bundle of all three retails for $60. Live Tinted offers shipping to the US, Canada, UK, the European Union, New Zealand and Australia.

Photo credit: www.livetinted.com

Photo credit: www.livetinted.com

68871178_732787477172000_3746690548589658112_n

I ordered the bundle of three and I was very keen to test out the product and see if it stood up to its claims. I’ve been using the Huesticks every day for almost 2 weeks now and here are my thoughts.

The colour and pigmentation of the shades Origin and Rise are incredible and work well as lipsticks but staying power is not as long as a regular lipstick.

I wore both shades as lipstick and each complimented my skin tone really well. I wear the terracotta shade Rise almost every day because it looks so natural and compliments any outfits / look. I like that it creates the nude lip effect but with a slight pop of colour; to make it truly nude I add on the shade Perk or any lighter nude/pink lipstick in my collection. The staying power is not as long as a traditional lipstick and I do need to reapply after meals.

The shade Rise is the star of the bundle, IMO. If I was to buy one shade, this would be it.

I get the most use out of the shade Rise because I think the shade is perfection. I use it as a lipstick and lip liner as well as colour corrector under my eyes and around my mouth area every day (I tried using Origin in the same way and it made my face look orange when blended with foundation, meaning that it’s too pigmented and red for medium skin tones). I also tried wearing it as a blush and eyeshadow a few times and it looked very natural.

Origin and Rise work pretty well as colour correctors for dark blue-grey under eye circles and I don’t need to use concealer! 

What I love about the Huestick is that it has removed the need for concealer on an everyday basis. I will apply either Origin or Rise under and around my eyes and blend it out slightly with my finger. And then go straight in with my foundation and blend it out all over my face and I am left with a pretty even complexion and my dark circles are mostly hidden. I will only add concealer on top if I really feel I need it. Otherwise for every day makeup the Huesticks do a good job and saves me lots of time!

The formula doesn’t seem consistent across all shades.

This might be unique to the bundle I got but I noticed that Rise has the smoothest formula and glides onto the skin and lips easily. Origin is pretty close but not as smooth as Rise — but it wouldn’t stop me from buying this shade again. When I apply Perk it goes on my lips scratchy and patchy. Even warming it up on the back of my hands didn’t seem to help much.

The shade Perk did not really work for me but I think it will be great for light to fair skin tones. 

This is not to say that the Huestick in the shade Perk is not good. In fact, since the ethos of Live Tinted is inclusivity it makes sense to me that some shades of the Huestick will suit skin tones different to mine. When I tried it as a lipstick, the pink shade washed out my face but I added a little bit of Rise as a lip liner and made it work.

The packaging is stunning. The product is good value for money. 

The copper patina packaging stands out in my makeup collection. It’s slightly heavier than the average lipstick and feels luxe. The Huestick has a twist up function and you get a lot of product for the price of $24.

Photo credit: www.instagram.com/livetinted

Photo credit: www.instagram.com/livetinted

Overall, I am impressed with the Huestick and I do recommend those of you with dark circles and hyperpigmentation skin concerns to try it out. If you have medium to deep skin tone and want to try only one, I would recommend the terracotta orange shade Rise because it works for most areas of the face.

Have you tried the Huestick? Leave your thoughts below
A Beginner’s Guide to Makeup Brushes – What Do You Really Need?

Let me preface this post by answering the question that pops up a lot when it comes to makeup brushes — do I really need them? 

Yes, you do. It’s the only way to get the full and proper use of the makeup products you’ve probably spent a lot of money on.

This guide is written following the order of when I like to use each brush type in a basic makeup routine. There are photo examples and Amazon links for each kind of brush to give you an idea of price and availability. You can always do more research and find similar brushes from other brands.

Alright, let’s jump in.

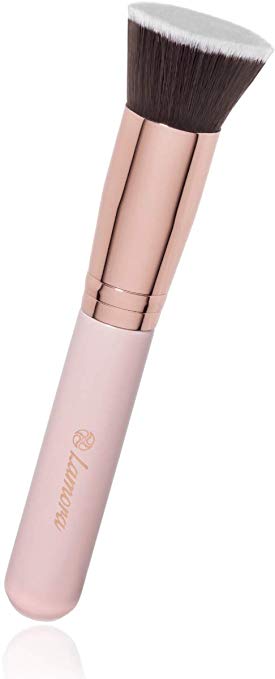
Flat top kabuki foundation brush: Foundation is usually the first step of makeup application. There are different kinds of makeup brushes to apply foundation. My favourite kind is called a flat top kabuki brush, which is basically a densely packed brush with a very flat top top designed to blend out liquid and cream products evenly on the skin. I’ll pump out my foundation on the back of my hand and dip the brush in it and then holding it perpendicular to my face and blend and buff out the foundation in circular motions. If you take a few minutes to do this technique, you can achieve a really smooth, airbrushed effect on the skin.

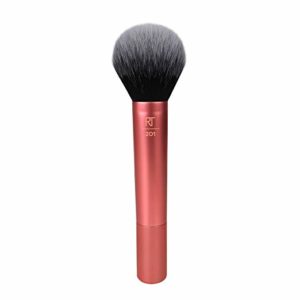
Flat Top kabukiLarge and medium powder setting brush: After applying liquid / cream products such as foundation and concealer, the next step is to set the whole face with a powder. I like to keep two kinds of powder setting brushes in my kit — one larger fluffy one to set larger areas of my face like cheeks, chin and forehead and one medium-sized brush to set under and around my eyes. I’ll dip my powder setting brush in setting powder, dust off any extra product and then buff it all over my face in circular motions.

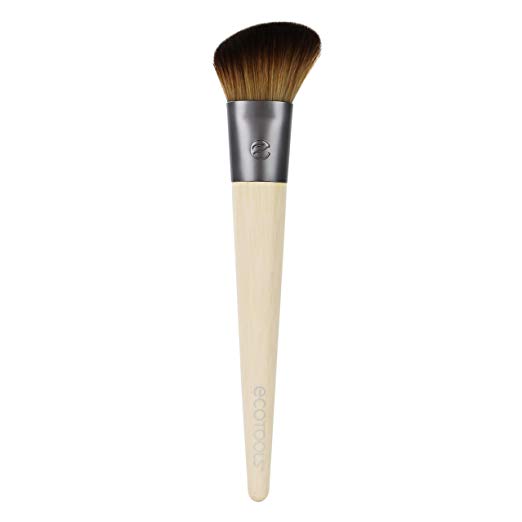
Bronzer brush: Now that the face is set with powder, it’s ready for other powder-based products like bronzer and blush. I generally like to do my bronzer first and I will use a brush with an angle that can fit into the contour of my cheek bone (I have a full post detailing my cheek contour routine here and an IGTV tutorial here). There are variety of angled-brushes available ranging from stiff to soft — I prefer to use a softer brush because there is less risk of applying too much product and it’s easier to blend out.

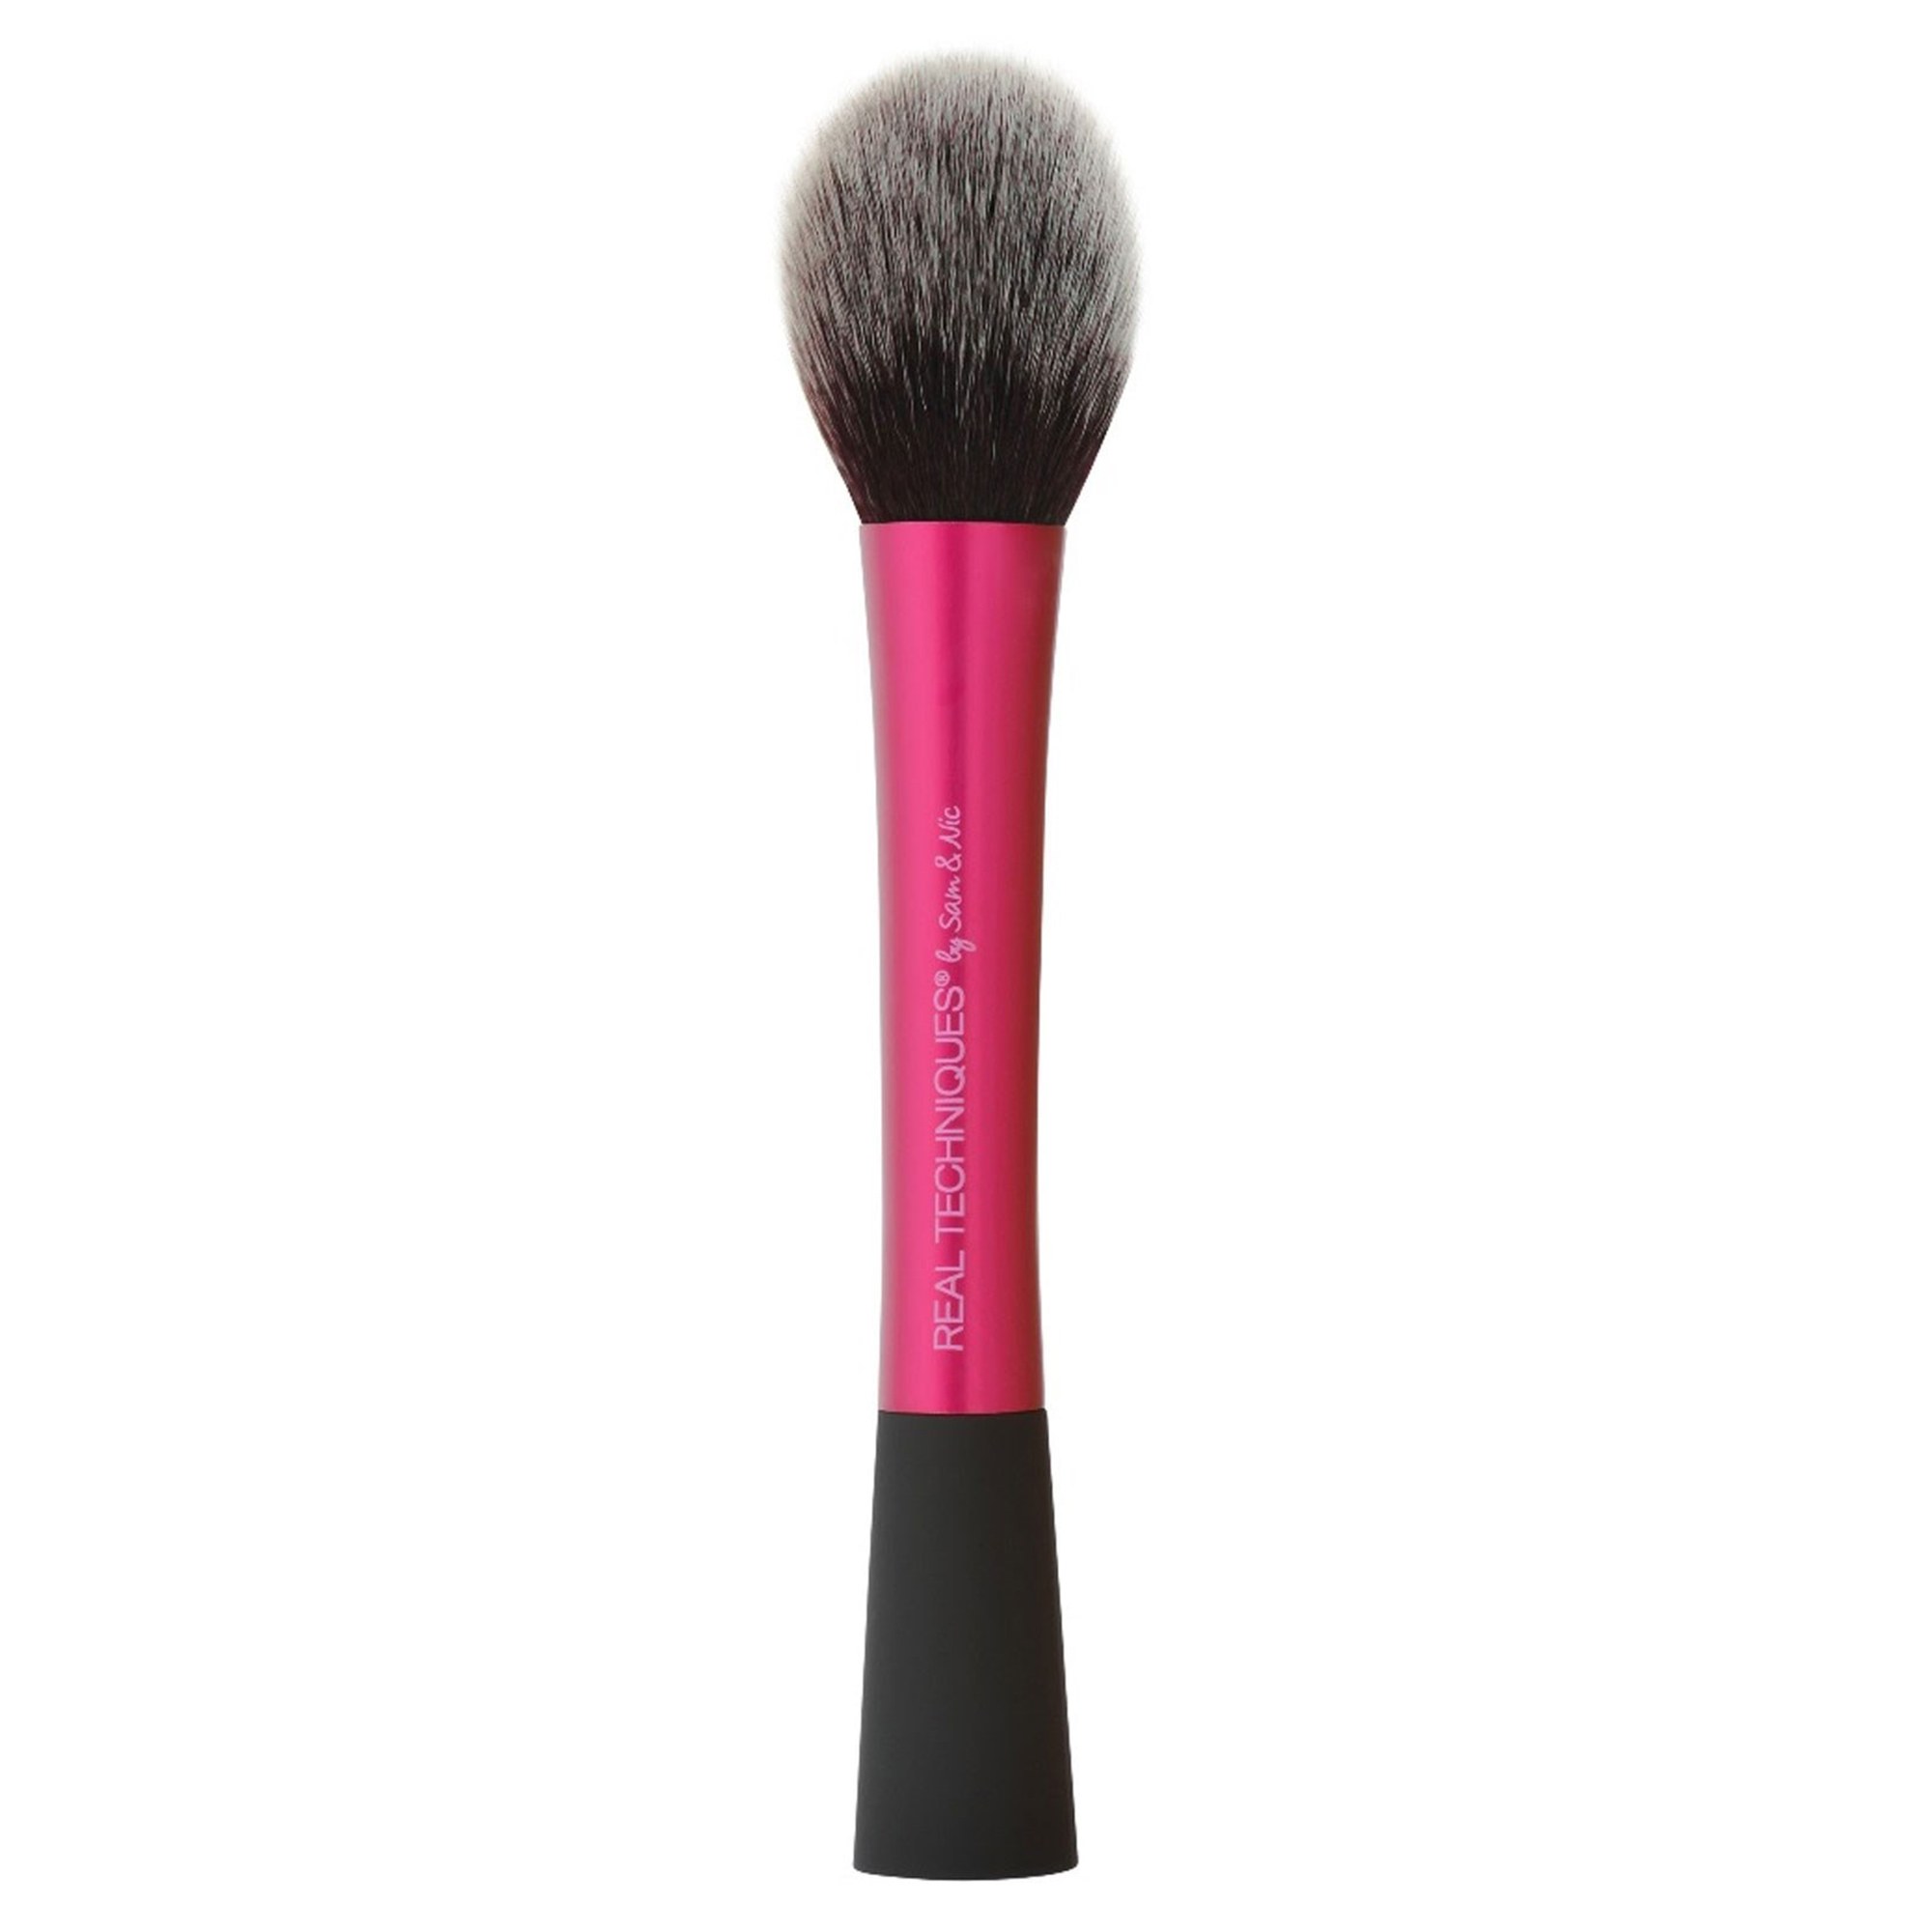
angled brush1Blush brush: After bronzer is done, blush is next. Using a blush brush I will apply the blush on the apples of my cheeks and using large circular motions, sweep backwards following the angle of my bronzer and blending the two together. Blush application depends on the individual’s preference.
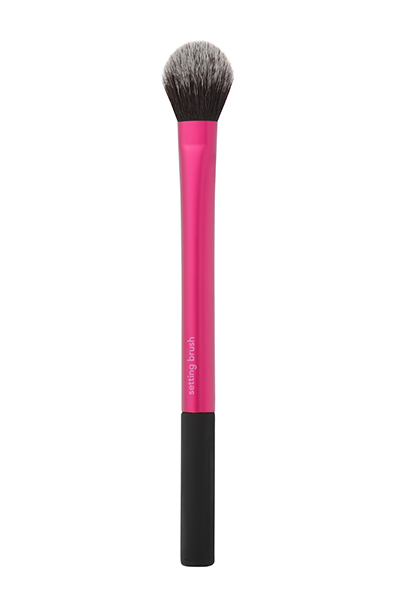
rt blush brushHighlighter brush: To finish off the cheeks and face makeup apply highlighter to the highest points of your face (where the light naturally hits) — top of cheek bones, eyebrow bone, bridge and tip of nose. I like to use a smaller domed-shaped brush to apply highlighter in very small circular motions to create a natural look.
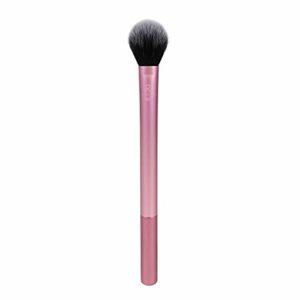
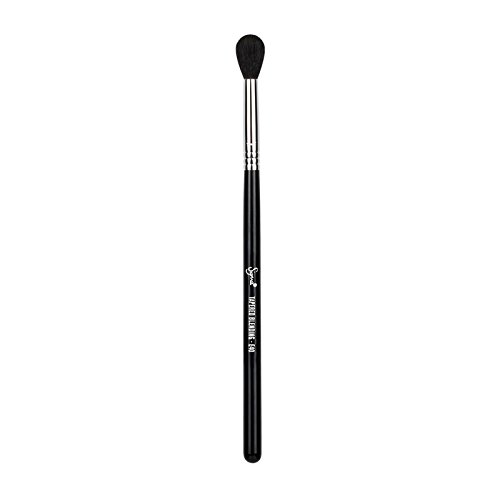
rt highlight setting brushEyeshadow blending brush: Finding a good blending brush is the key to achieving well-blended eye makeup. The bristles should be extremely soft and the brush head should be long and tapered towards the end so it fits in the crease comfortably. The first step of any eye look is to apply a crease shade such as a neutral light brown and blending it out to create a general shape and base for the look on which to build other colours. Applying a crease shade first helps to build dimension and depth. Some prefer to use the brush in circular motions while others will sweep — I don’t think there’s a right or wrong way. The important thing is to build the colour slowly, pay attention to the shape of the crease, and ensure there are no harsh edges. I like to keep two of these in my kit incase I want to blend more colours in my crease or blend out edges.
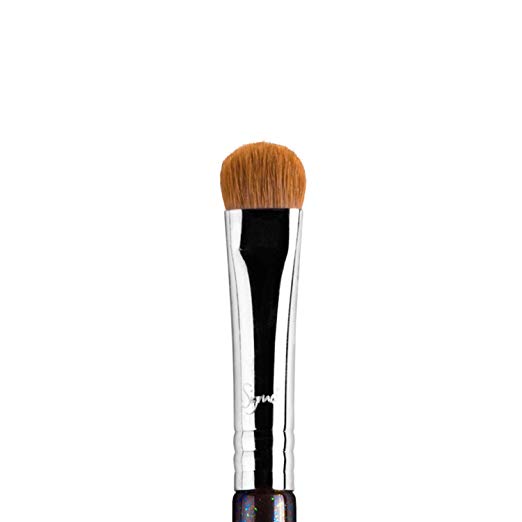
sigma crease brushShader eyeshadow brush: After putting down a base colour in the crease, apply another colour right on the eyelid (be careful not to go too far into the crease, stop where the natural inwards dip of the eyeball appears when you close your eyes) using a shader brush. This kind of brush is stiffer and designed to pack colour more precisely. You can choose to apply a deeper matte shade right on the lid or go in with a shimmer or glitter. The key to using the flat-tipped brush is to apply the colour in small tapping motions across the lid instead of sweeping it across in one big motion. This allows for more precise and controlled application and the colour is more tightly packed and vibrant.
shader brush sigmaPencil eyeshadow brush: To balance out the top of the eyes, I like to take a pencil brush (the Real Techniques set below is a good investment for eyeshadow brushes too), which is a much smaller brush with densely-packed bristles, and apply the same colour that is in my crease on my lower lash line like a smoked out eyeliner. This is optional but I think it’s a good practice to complete any eye look.

The fourth brush pictured in this set is the pencil brush

The fourth brush pictured in this set is the pencil brush

If you’re a beginner or just wanting to build a proper makeup brush kit, I think these brushes are the most important ones to have to complete a full face of makeup.

3 Must-Have Makeup Products To Contour And Sculpt Cheeks on Medium Brown Skin Tone

I’m going to keep this post short and get to the point: these 3 products (I have some alternatives listed too) will give your cheeks life.

Step 1: Add definition and contour with a bronzer that has a neutral tone

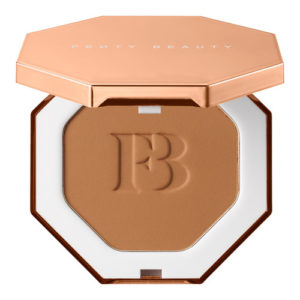
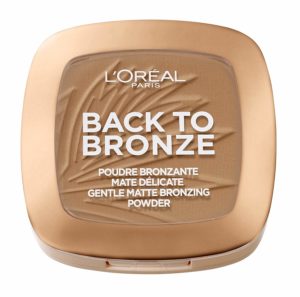
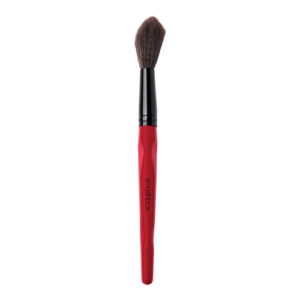
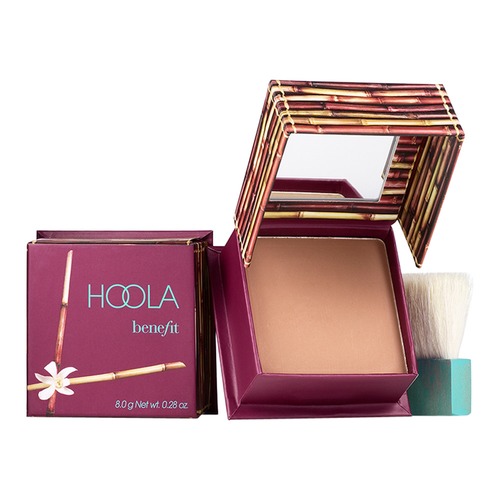
My favourite bronzers with a neutral tone are Hoola Bronzer by Benefit Cosmetics, Fenty Beauty Sun Stalk’r Bronzer in Caramel Cutie, and L’Oreal Paris Back to Bronze Matte Bronzing Powder. I like to use a soft brush like the Smashbox Buildable Cheek Brush because it applies the product in a diffused way. You don’t run the risk of overdoing it with bronzer or getting streaks and blotches.

When it comes to contouring the cheek, the key is to know where to start and where to stop. The starting point is where the top of your ear meets your cheekbone and if you touch your cheekbone you’ll feel it dip inwards into a hollow space — that is exactly where you want to start contouring from. And to find your stopping point — draw an imaginary line vertically from the middle of your eye when looking straight down your face and where that imaginary line meets your cheekbone is where to stop.

The way I like to contour is to start at the back of my cheekbone right where it curves inwards and then work my with the brush following the natural shape of my cheekbone and create a guideline from start to finish point. Then I use a very light hand and sweep the brush in rounded motions back and forth a few times. I’m careful to sweep upwards onto my cheek from my guideline so that my face looks lifted and not droopy from applying the bronzer too low.

Step 2: Apply blush on the apples of your cheeks and blend into the bronzer 

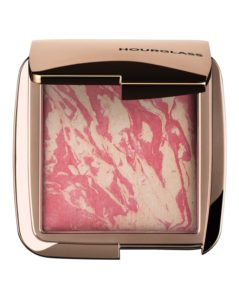
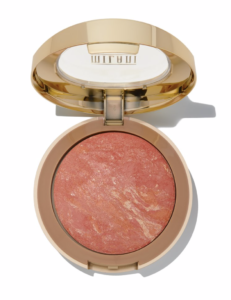
My favourite blush is the Hourglass Ambient Lighting Blush in Diffused Heat. An alternative to this one is the Milani Baked Blush in Corallina (or Dolce Pink) but in all honesty use any blush you like. The key takeaway here is the technique, not the colour.

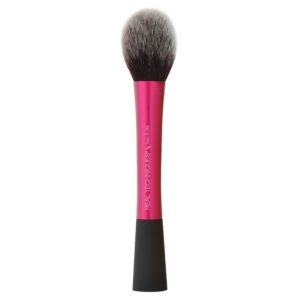
The way I like to apply blush is to smile and find the apples of my cheeks. Then using a large, soft fluffy blush brush like the Real Techniques Blush Brush, I will very lightly apply the blush on the apples of my cheeks and gently sweep backwards in larger rounded motions slightly above my bronzer contour towards the stopping point (remember: the imaginary line trick). This creates a very natural, flushed effect on the skin and creates a seamless blend between the blush and contour. So if you were to feel your cheekbone structure, the blush would be placed on your cheekbone above the inward curve.

Step 3: Dust highlighter on the highest points of your cheeks

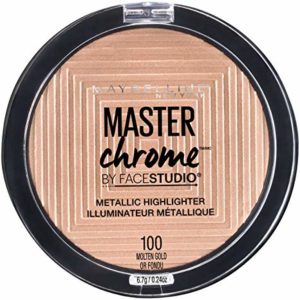
My favourite highlighters are the Maybelline Master Chrome Metallic Highlighter in Molten Gold and Fenty Beauty Killawat Freestyle Highlighter in Hu$tla Baby. They compliment medium to deep skin tones really well.

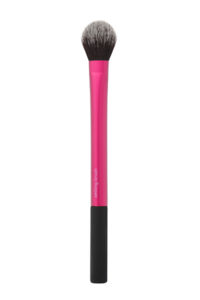
The rule with highlighter is less is more. Using a smaller dome-shaped fluffy setting brush like the one pictured below from Real Techniques, I will very, very lightly apply highlighter in small rounded motions on the highest points of my cheeks. The way to find the highest point is to remember the contour stopping point and follow that imaginary line up on your cheekbone to the highest point before it curves into the eye socket. And you just want to add a little bit of highlighter at this point and sweep slightly backwards to give your face a lifted effect. If you bring the highlighter too far down towards the apples of your cheeks, it looks unnatural and odd.

The trick to knowing if your highlighter is applied correctly is to do this: face a mirror straight on and you shouldn’t see any highlighter but as soon as your turn your face left, right, up or down, the highlighter will show as the natural light hits it at these different angles. That’s how you create dimension.

I have a short IGTV tutorial to show you my cheek sculpting routine in-depth. Click here to watch.


My Favourite Affordable Lipstick for Medium to Dark Skin Tone Available at Drugstores in Bangkok

Lipstick. The one beauty product I can’t live without. I may go days without foundation, eyeliner, mascara, blush and what have you but I will always have one or two lipsticks stashed in my chosen bag (sporting a diaper bag is a look!) for the day.

As a woman of colour, I have very pigmented lips where the outer rim of my lip is a darker brownish purple compared to the pale pink centre. Finding a lipstick with the right colour to even out / cover my pigmentation while also complementing my medium, brown skin tone is not easy.

Most brands offer large, varied colour ranges in various lipstick formulas but very few brands have “wearable” colours that suit women of all shade categories. For example, I have a brown skin with a yellow undertone and by default deeper, richer colours such as red, magenta and terracotta with more red undertones will stand out on me; but these aren’t the types of colours I would wear on a daily basis — they’re too intense. I prefer to wear colours like nude, peach and rosy pink and that’s what I mean when I say “wearable” colours. Whenever I try a lipstick in one of these shades from other brands, I often find it can look pale and the main reason for that happening is the pigmentation or colour of the lipstick is not deep enough to suit medium to dark skin tones.

After experimenting with so many lipsticks across many brands and being disappointed over and over, I am so happy I finally found the L’Oreal Color Riche Matte Lipsticks! Not only is the colour range stunning (L’Oreal nailed it with the deeper colours) and formula super comfortable, but it is also so affordable and long-lasting. The matte formula gives a soft, velvet finish on the lips making it extremely pleasant to wear all day long; at the end of the day my lips never feel dried out. And the colours available suit women of all shade categories.

My personal favourite “wearable” shades: 

Shade 204: Crayon Sunset is pastel, peachy orange. It can look a bit too light on its own on me so I like to layer it in the centre of my lips on top of a deep brown or nude to add dimension.

Shade 203: Peachy Brown is a deep, peachy nude perfect for everyday wear. It can be worn on its own or mixed with a lighter shade.

Shade 208: Cherry Crush is a bright pink, which can be worn on its own or layered on top of a deeper pink or red shade. I like to mix it with deeper pink shades to create dimension on my lips.

Shade 288: Mont Blanc is a deep pink. It’s my favourite shade and I wear it on its own almost everyday with or without any other makeup. It’s one of the very rare rosy pinks that suit medium to dark skin tones and brightens up the face.

Shade 296: Maple Boulevard is a dusty pink nude. It’s one of the few rosy nudes that doesn’t make my brown skin look ashy. I love wearing this shade on its own too. It looks great with a smokey or dark eye look.

The whole collection:  

Screen Shot 2019-05-29 at 4.03.55 pm
Rosy Tones added to the collection: 

rosy tones

Earthy Tones added to the collection:

earthy tones
Available at all local drugstores (Boots, Watsons etc) and the beauty section of all major supermarkets (Big C, Gourmet Market etc), the L’Oreal Color Riche Matte retails between 250 – 350 Baht depending on where it is purchased.


**This is not a sponsored post. All opinions are my own.**

Aside

My Holy Grail Beauty Products I Use Every Single Day in Bangkok’s Hot Weather

I was cleaning out my beauty products and makeup the other day and realised that there are some products that are my holy grails and help me feel confident and look presentable every day. Especially living in a hot and humid city like Bangkok, I need makeup and products that will last all day but not feel heavy on the skin. These products have been with me for years and/or multiple repeat purchases have been made. In a nutshell: they’re always on deck and going places with me.

If you’re looking for everyday staples that are worth spending your hard earned cash on, read on:

Marc Jacobs Beauty Velvet Noir Major Volume Mascara
Price: 1,100 Baht

marc jacobs velvet noirI got this mascara as a free sample from Sephora a few years ago. And it’s pure magic. It adds beautiful volume and length to my almost non-existent lashes in a few strokes. I think it’s because the wand has a slight curve so each lash coats and curls easily. The formula of the mascara is the best; it’s not messy or clumpy and it doesn’t feel heavy on the eyes at all. And the best part: it’s super easy to clean away and doesn’t leave behind raccoon eyes. I’ve tried other mascaras but for my thin, sparse lashes nothing works as well as the Marc Jacobs Beauty Velvet Noir Major Volume Mascara.

Benefit Cosmetics Goof Proof Brow Pencil

Price: 1,120 Baht

Goof Proof1The Benefit Cosmetics Goof Proof Brow Pencil has been with me for more than two years and is my go-to for filling up my brows so they look nice and full. I’m still using the first pencil I ever bought and I don’t see the end anywhere near in sight! It’s available in a variety of shades. For anyone who has dark brown / black eyebrow hair shades 4 or 5 should be fine. The price is on the higher side for a reason — it lasts forever but is also super easy to use with the spooly brush on the end to help achieve natural, fluffy brows.

Benefit Cosmetics Hoola Bronzer
Price: 1,350 Baht

hoola benefitBronzer is a tricky thing for medium-to-deep skin tones. Firstly, a lot of bronzers barely show up on my skin tone and secondly, I don’t want two separate powders for bronzing and contouring. I want to be able to do both with one product and I found the perfect neutral-toned bronzer that lets me bronze and contour: the Benefit Cosmetics Hoola Bronzer. I love this bronzer because it’s blends out smoothly and looks so natural on the skin that I use it almost every day to add warmth and definition to my cheeks. I like to use it with a fluffy blush brush and gently blending from the centre of my cheek bones and top back towards the top of my ears. The brush it comes with is great for doing a quick nose contour.

NARS Costmetics: Radiant Creamy Concealer in Shade ‘Biscuit’
Price: 1,320 Baht

Nars concealerI have very, very dark circles and with a few dabs of NARS Costmetics: Radiant Creamy Concealer my dull, blue-toned dark circles are neutralised so my face looks brighter and even-toned. This is my must-have secret weapon for every day makeup. Especially for days I don’t want to wear foundation but need to look somewhat put together I’ll put concealer under my eyes and I’m ready for the day. One tube for me lasts 5-6 months so its definitely worth the investment and the shades are great for medium-to-deep skin tones. When applying it I use the applicator to dot the product close to the inner tear duct and under the eyes and let it sit for a few minutes so it dries down a bit. Then using my fingers I blend it all around my eyes and it melts right into my skin looking flawless and feeling light. I always set my concealer with a translucent powder. (Note: I use the shade ‘Biscuit’).

Fenty Beauty Killawat Freestyle Highlighter in Shade ‘Hu$tla Baby’
Price: 820 Baht

Bomb Mini Fenty1

The perfect highlighter for medium-to-deep skin tones. It’s not too gold, not too pink, not too light, not too anything else. It is just right. Using a fan brush or a smaller fluffy brush, I will lightly dust the Fenty Beauty Freestyle Killawat Highlight in shade Hu$tla Baby on the high points of my cheeks and then blend it into my bronzer using a large fluffy brush to get a flawless blend between the two. I like to use this in combination with the Hoola Bronzer — my face has never looked more defined and radiant. Most days this combo looks good enough and I don’t need to add a blush. It’s available in a duo compact with another shade ‘Mean Money’, which is okay and nothing to write home about. So I prefer to get it as a single in this small combo and the lip gloss that comes with it is nice too.

MAC Cosmetics Satin Lipstick
Price: 880 Baht 

mac satin lipAfter much exploration between all kinds of lip products including liquid lipsticks, glosses and matte lipsticks, I found my preferred lipstick for daily use: MAC Cosmetics Satin Lipstick. The finish on these lipsticks is somewhere between matte and creamy. The satin-like finish has the durability of a matte lipstick but the soft, moisturising feeling of a creamy lipstick. I’m very fussy about lipsticks and how they feel on my lips but I love these lipsticks because they last all day without drying out my lips. Sometimes after eating I need to reapply but that’s about it. And the colour range is really nice for medium-to-deep skin tones — my favourites include: Twig, Faux and Brave.

Are any of these products your holy grails too? Or do you have other suggestions? Please share your thoughts in the comments below.